Fear the Subscription!

Making miniatures more attractive


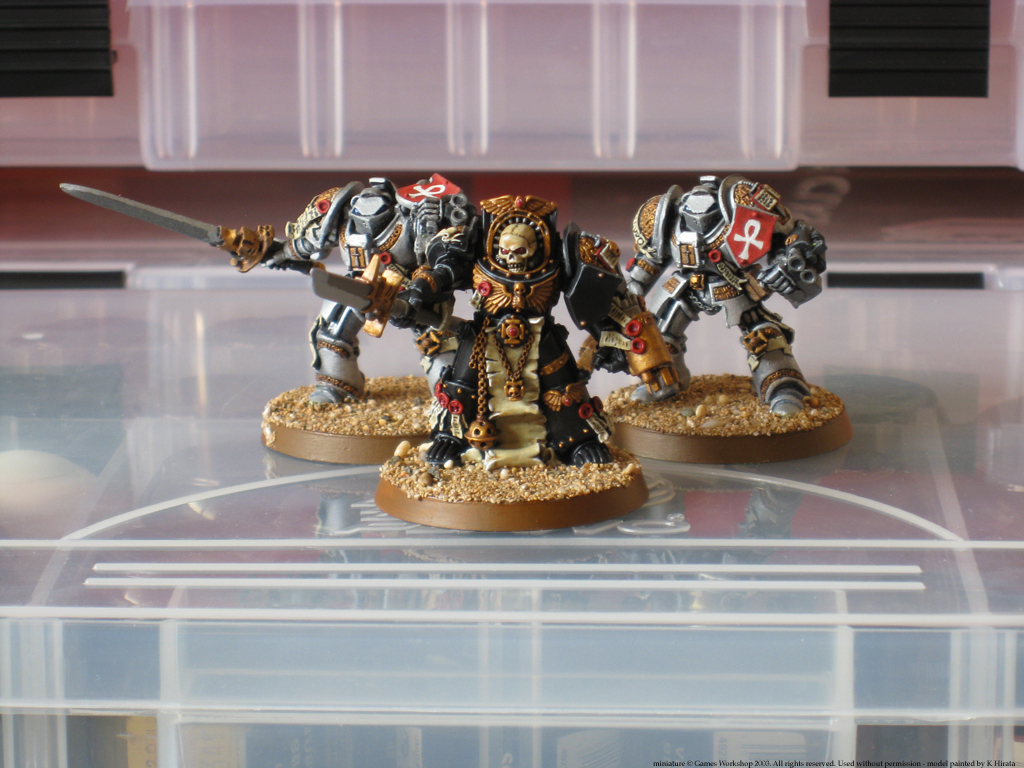
Grey Knight Chaplain
That’s a new HQ unit for my Grey Knight army, a Chaplain. I reason that since the Grey Knights are technically an Adeptus Astartes chapter, they’d have chaplains in their ranks. For game purposes, I would count these as being a Grand Master or Brother-Captain HQ unit, since the army list has no specific stat line for chaplains. The model itself is a simple conversion; take the body of a Space Marine Chaplain and switch in the arms of a Grey Knight Terminator with psycannon.
Speaking of switching arms, this is a Grey Knight Dreadnought (unpainted):
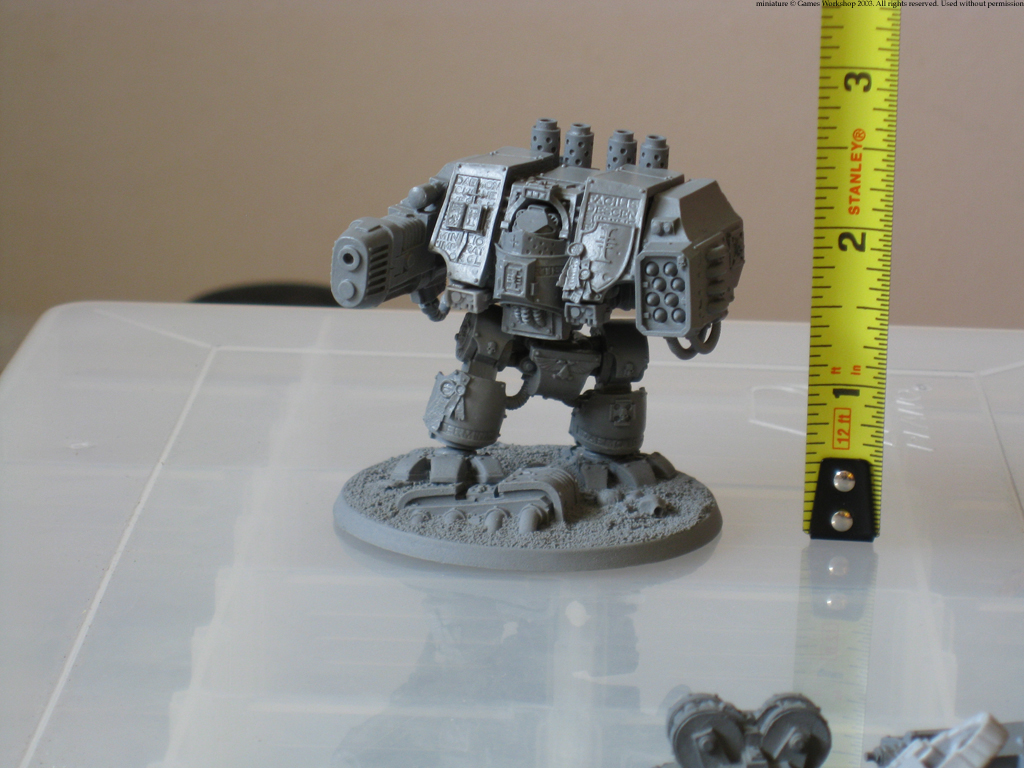
Grey Knight Dreadnought
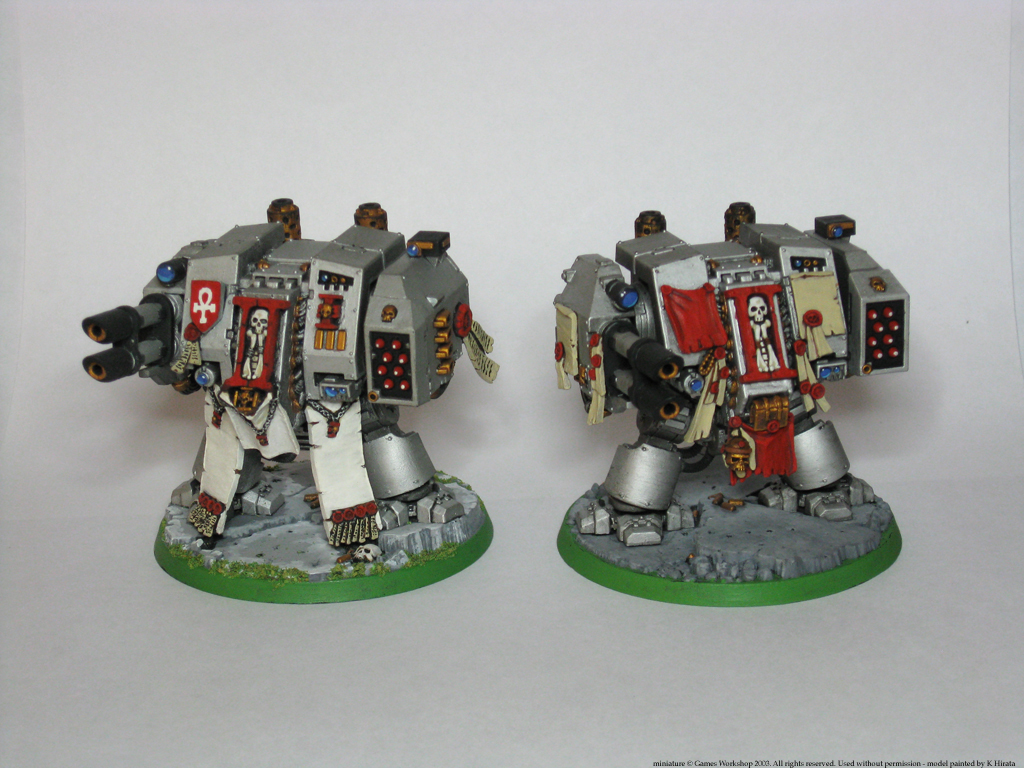
You might remember similar dreadnoughts I painted a while back. The benefit of having some of these in a Grey Knight army is long range firepower on a walking armored platform. Dreadnoughts have a variety of weapon options to choose from, each providing different functionality and can be effective in the right situations.
Of course, that means in order to have the right weapon at the right time, one has to have an inventory of dreadnoughts, each with a different loadout. That can get expensive and cumbersome fast. The answer to this dilemma are tiny little time-savers; neodymium magnets!
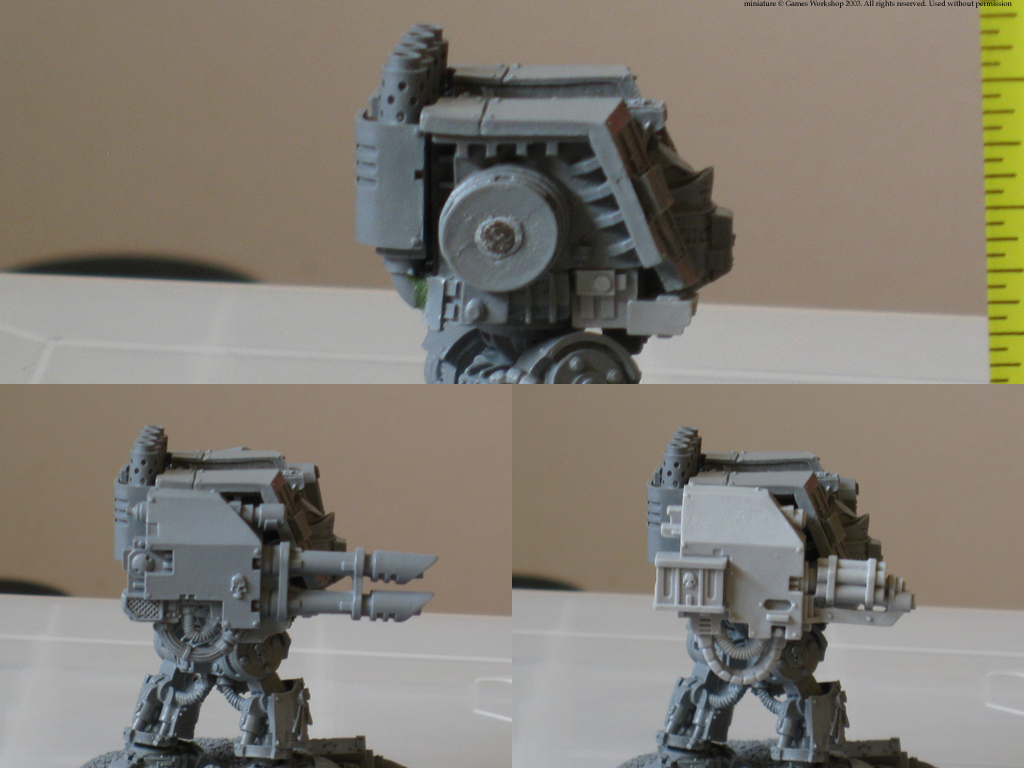
Grey Knight Dreadnought arm options
I ordered disc magnets about 1/8″ in diameter from K&J Magnetics, and they have some decent pulling power. They’re strong enough to hold the resin pieces in place with minimal disruption, and I have no doubt that the same will hold true for plastic and pewter models. Shown in this picture are two different weapon options, but I have a total of seven distinct arms available for my dreadnought.
I don’t show how I drilled a hole and glued a magnet flush into the miniature because there are plenty of online tutorials out there. Suffice to say that it takes a bit of patience to drill out the right size and depth, and a careful bit of attention to ensure the magnetic polarity is correct. The end result, however, is worth the time and effort.
* * *
Someone asked how I organize my miniatures and carry them around.
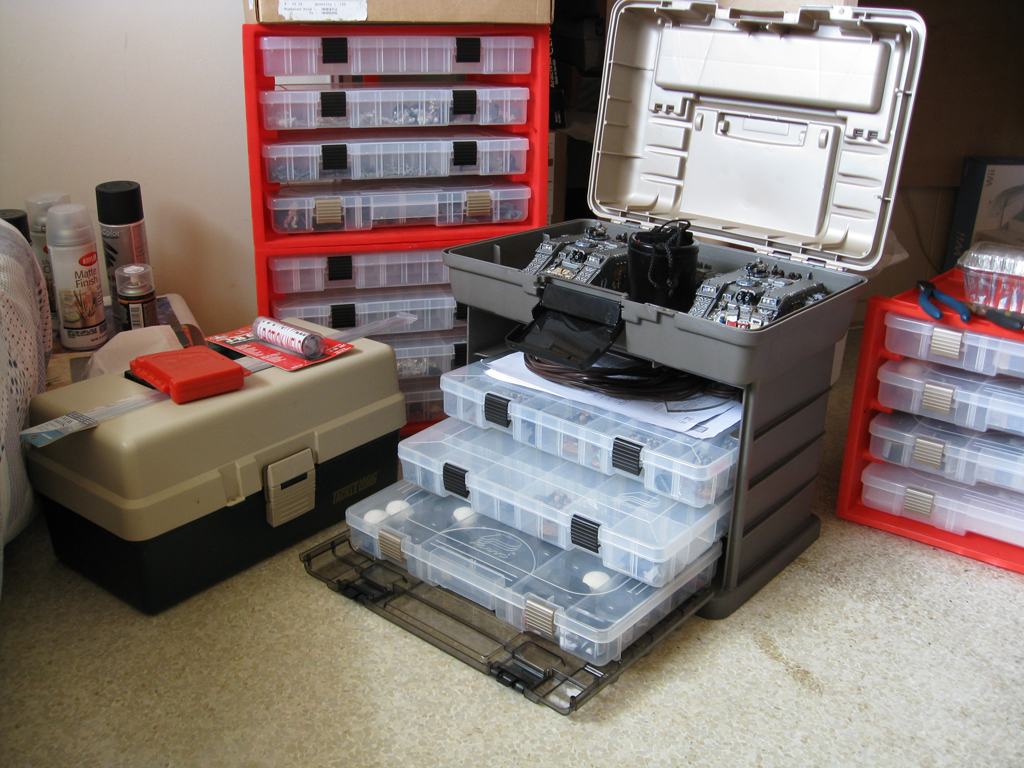
Storage, Portage, and Organization.
The tackle box contains some of the tools of the hobby, like plastic and wire clippers, files, knives, epoxy putty, jeweler saws, and drill bits. I use the storage trays for paint pots, miniatures, and model bits and accessories. The fancy box in the center is what I take with me to game nights, and thanks to their universal fit I can take whichever tray I desire, along with an extension cord for a table lamp, vehicles, dice, measuring tape, and other gaming supplies and documentation.
So if I want to paint, I take this:
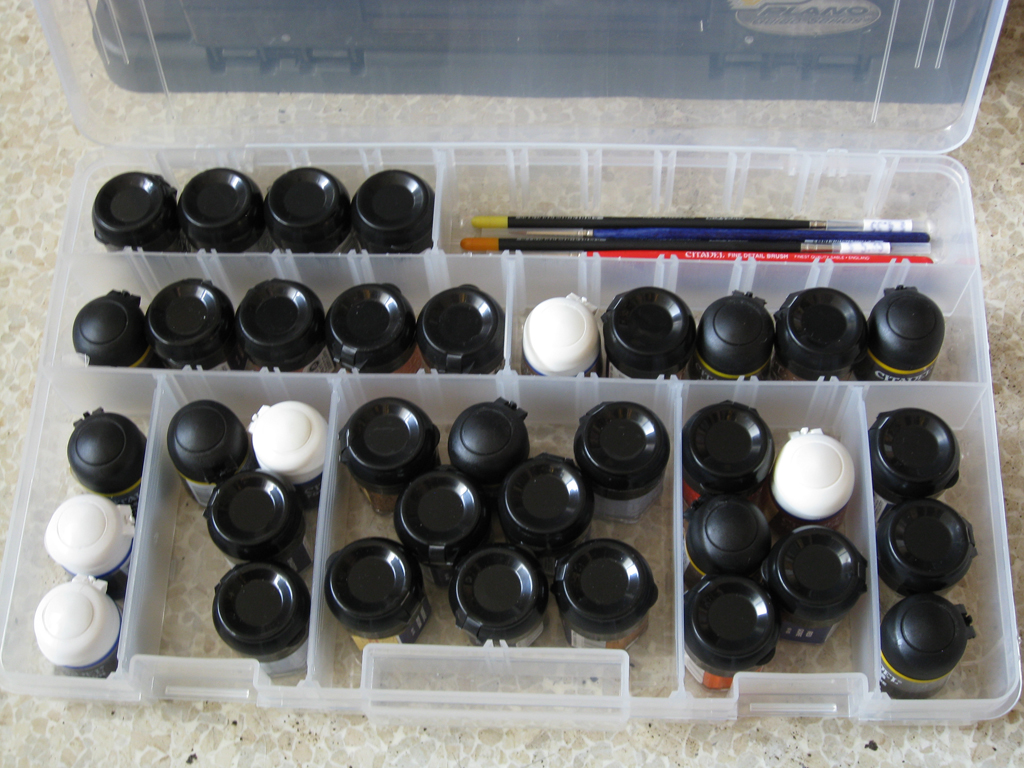
Storage tray for paints
And if I play a game, I take this:
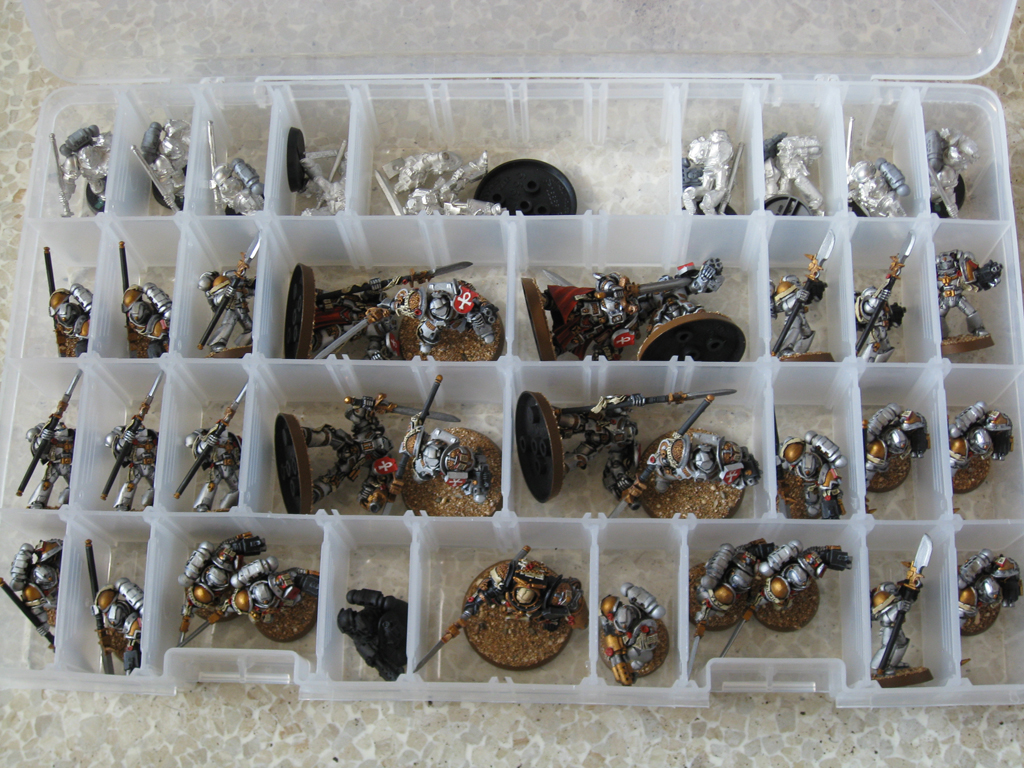
Storage for miniatures
Obviously having miniatures in a tray like this involves some risk of damage, and is very ineffective compared to the foam trays used in dedicated army carrying cases. However, the universal fit for my tool box appeals to me since I can switch out the trays as needed, and I minimize the chances for scuffs and scrapes with dutiful applications of gloss and matte varnishes.